
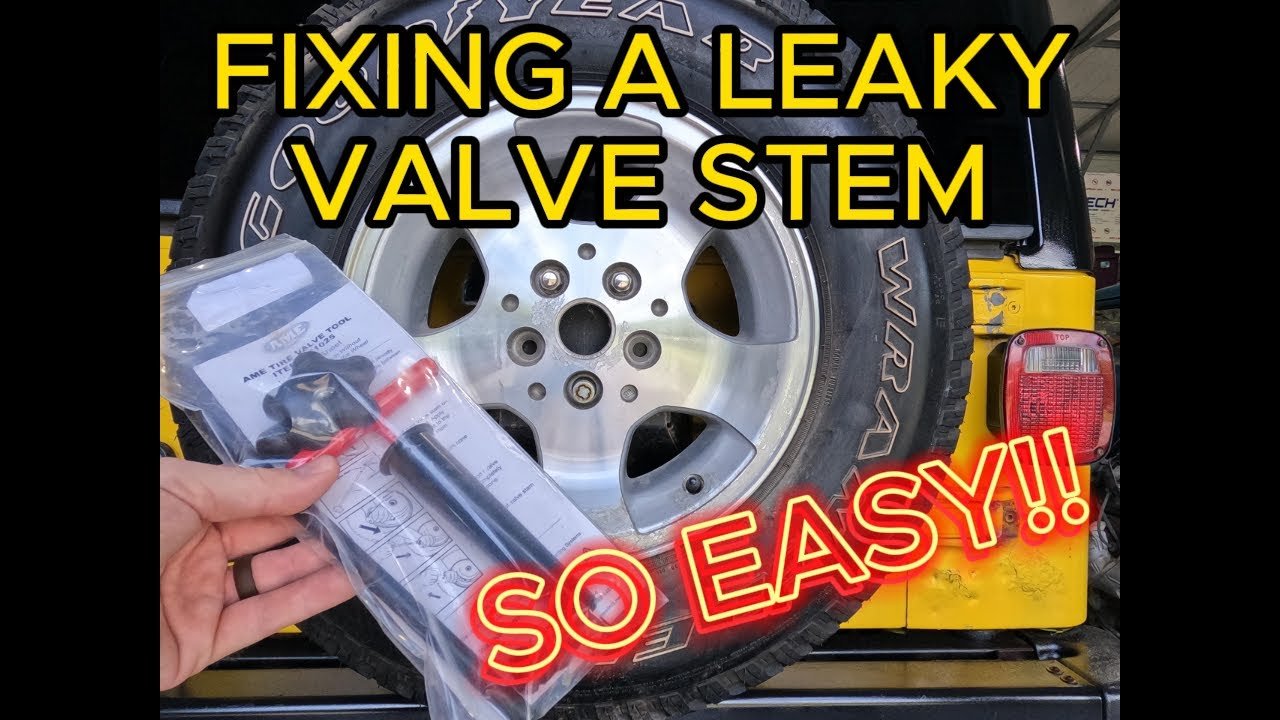
How To Remove Tire Valve Stem Without Tool: Safe Guide

Wondering how to remove tire valve stem without tool? Learn the risks, stem vs. core differences, and when proper equipment is essential before you try.
On most U.S. passenger cars, SUVs, and pickups, you cannot reliably remove the valve core without a core-removal tool, or replace the whole valve stem without tire-service equipment. You can, however, release air from a standard Schrader valve without removing either part.
If you are trying to fix a leak, change a damaged stem, or let air out of a tire, first identify which job you need. Pulling on the stem or twisting its center pin with pliers can turn a small leak into a flat tire. This guide explains what you can do without a special tool, what needs proper equipment, and when to stop.

Valve Stem vs. Valve Core: Know Which Part You Need to Remove
The valve stem is the tube through the wheel; the valve core is the small valve threaded inside that tube. Many instructions confuse the two, but they require different repairs.
A standard Schrader valve has three main parts:
- Valve cap: The small cover you unscrew by hand.
- Valve stem: The rubber or metal body that projects through the wheel.
- Valve core: The threaded insert inside the stem. Its spring-loaded center pin controls airflow.
Pressing the center pin opens the valve. It does not unscrew or remove the core.
Some vehicles also have a tire pressure monitoring system, or TPMS, sensor attached to the stem inside the wheel. A rubber stem does not rule out TPMS; some sensors use rubber snap-in stems.
Use this table to match your goal to the right task.
| Your goal | What needs to happen | Possible without a dedicated valve tool? |
|---|---|---|
| Lower tire pressure slightly | Press the center pin, then check pressure | Yes, with a suitable blunt object and a pressure gauge |
| Fully deflate a tire | Hold the valve open under safe conditions | Possible, but slower than removing the core |
| Replace a leaking valve core | Unscrew and replace the core | Not reliably, unless the cap has a built-in core tool |
| Replace a cracked rubber stem | Access and replace the stem at the wheel | Generally no; tire-service equipment is needed |
| Replace a metal TPMS stem | Follow the sensor-specific service procedure | No; correct parts and tools are needed |
The key distinction is simple: letting air out is not the same as removing the valve stem.

What You Can Safely Do Without a Valve-Core Tool
If your goal is only to reduce tire pressure, leave the core installed and press its center pin briefly. Removing the core is unnecessary for a routine pressure adjustment.
What you need before you start
For a small pressure adjustment, have:
- A reliable tire pressure gauge.
- Access to an air pump in case you release too much air.
- A clean, blunt object that fits inside the valve opening without scraping it.
- The vehicle’s recommended cold tire pressure.
For U.S. vehicles, look for the pressure label on the driver’s door edge or doorjamb. The owner’s manual may also list the correct pressure. NHTSA advises using the vehicle manufacturer’s recommendation—not the maximum pressure molded into the tire’s sidewall.
Check pressure when the tires are cold. NHTSA describes cold tires as tires on a vehicle that has not been driven for at least three hours. Do not bleed a hot tire down to the cold-pressure setting simply because its reading rose after driving.
Step-by-step: Release a small amount of air
- Park on a firm, level surface. Set the parking brake and stay clear of traffic.
- Remove the valve cap by hand. Put it somewhere clean.
- Measure the tire pressure. Compare it with the vehicle’s recommended setting.
- Press the center pin straight inward. Use the blunt end of a small object. Avoid sharp points, side pressure, and contact with the valve’s sealing surfaces.
- Release air in short bursts. Remove the object and check pressure after each burst.
- Stop at the specified cold pressure. Reinflate if you release too much.
- Check that airflow has stopped. Then reinstall the cap by hand.
A brief hiss while the pin is pressed is normal. Continued hissing after you release the pin is not.
Signs the adjustment worked
The gauge should show the intended pressure, and the valve should stop releasing air as soon as the pin returns. The stem should remain straight, with no new cracks or movement at its base.
If the pin stays down, the valve keeps hissing, or pressure falls again, stop pressing or probing it. The core may be dirty, damaged, or loose. Arrange a proper repair before driving on an underinflated tire.

Can You Remove the Valve Core With Household Items?
Household items are not a dependable substitute for a valve-core removal tool. The core has small engagement surfaces that the correct tool grips without relying on the center pin.
Needle-nose pliers, tweezers, and screwdrivers can slip or damage the core. A bent pin or damaged seal may leave the tire unable to hold air.
The exception: A cap with a built-in core tool
Some valve caps have a forked or slotted end designed to engage a Schrader valve core. If your cap has that feature, you already have a core-removal tool.
An ordinary plastic or metal dust cap does not become a core tool when turned upside down. Do not force a plain cap into the valve.
If you find a proper core tool
Before removing a core, confirm that the tire and wheel are safely positioned for full deflation. For a DIY task, working on a wheel already removed from the vehicle avoids leaving the vehicle resting on a flat tire. Follow the owner’s manual for lifting and wheel removal; never work under a vehicle supported only by a jack.
Release the pressure through the center pin before unscrewing the core. Residual pressure can propel a loosened core out of the stem, so wear eye protection and keep your face away from the opening.
The usual removal direction is counterclockwise when viewed into the valve opening. If the core resists, stop rather than applying more force. Corrosion or damaged threads may require replacement of the stem or professional service.
For installation, use a compatible replacement core and follow the valve or TPMS maker’s tightening specification. There is no single torque instruction that should be applied to every valve assembly.

Why Removing the Whole Valve Stem Requires More Equipment
On a typical tubeless passenger-car tire, replacing the whole stem requires access to the inside of the wheel. That usually means separating part of the tire bead from the rim.
The bead is the reinforced edge of the tire that seals against the wheel. Tire-service equipment breaks that seal in a controlled way so the technician can reach the stem’s inner base.
A normal stem-replacement job includes:
- Fully deflating the tire.
- Moving the bead away from the valve area.
- Identifying any attached TPMS sensor.
- Removing the old stem or its retaining hardware.
- Installing compatible parts.
- Reseating the bead, inflating the tire, and checking for leaks.
Pulling a rubber stem out with pliers is not a complete repair method. It can tear the rubber, damage the wheel opening, or harm an attached sensor. Cutting the outside of the stem also does not prepare the wheel for safe installation of a replacement.
TPMS changes the repair
A metal stem may be part of a clamp-in TPMS assembly. A rubber stem may be part of a snap-in TPMS assembly. The visible stem alone does not tell you which parts can be reused.
Some TPMS assemblies require specific cores, seals, washers, nuts, or stem kits. In particular, aluminum valve stems commonly require compatible nickel-plated cores to limit corrosion problems. Follow the exact sensor manufacturer’s instructions rather than choosing parts by appearance.
If the stem is cracked at the wheel, bent, corroded, or leaking around its base, a tire shop is the practical next step. Tell the shop if the vehicle has TPMS or if the warning light is on.

Find the Leak Before Removing Anything
A valve-area leak does not always mean the entire stem needs replacement. Locating the leak first can prevent needless disassembly.
With the tire inflated, apply a small amount of leak-detection solution suitable for tires and wheels. Watch for bubbles that keep growing, rather than bubbles created when the liquid was applied.
| Symptom | Possible cause | Best next step |
|---|---|---|
| Bubbles form at the valve opening | Leaking, loose, or contaminated core | Have the core checked with the correct tool |
| Bubbles form around the stem’s base | Stem seal, rubber stem, or wheel-opening problem | Arrange tire service |
| Air escapes after the center pin is released | Sticking or damaged core | Stop probing; repair before normal use |
| Pressure drops but no valve bubbles appear | Tread puncture, bead leak, wheel damage, or another cause | Inspect the whole tire-and-wheel assembly |
| TPMS warning remains after pressure correction | System update delay or a separate fault | Follow the vehicle manual’s instructions |
Do not sharply bend an old rubber stem to “test” it. Weathered rubber can split when flexed.
A valve cap helps protect the valve from dirt and moisture, but installing a cap is not a sound repair for an active leak. If the tire loses pressure quickly, use a suitable spare or roadside assistance rather than trying to drive to a shop on it.

Common Mistakes and Safety Limits
Stop when the repair calls for more force, full tire disassembly, or unknown TPMS parts. Those are signs that this is no longer a simple pressure adjustment.
Avoid these common mistakes:
- Twisting the center pin. The pin opens the valve; it is not the part a removal tool grips.
- Using pliers on the stem. Gripping the outside does not safely unscrew the core.
- Fully deflating a tire while the vehicle’s weight rests on it. This can damage the tire and leaves the vehicle unsupported by normal tire pressure.
- Treating “no hiss” as proof of zero pressure. A blocked valve may prevent airflow. Do not cut or disassemble a tire because it seems empty.
- Using the sidewall maximum as the target pressure. Use the vehicle’s specified pressure for its approved tire fitment and operating conditions.
- Driving after an unresolved leak. A tire that briefly reaches the correct pressure may still be unsafe if it cannot hold that pressure.
This guide applies to ordinary passenger-vehicle Schrader valves. Large commercial tires, multi-piece wheels, and specialized inflation systems need different procedures and trained service personnel.

FAQs
Will removing the valve core let all the air out?
It opens a larger escape path than pressing the center pin, so air generally leaves faster. But a tire that no longer hisses should not automatically be treated as safe to cut, unseat, or disassemble. Tire service requires a controlled pressure check.
Can I reuse a valve core?
An undamaged, compatible core may be reusable, but a core suspected of leaking should be inspected or replaced. Do not reuse one with a bent pin, damaged seal, corrosion, or damaged threads.
Does replacing a valve core require TPMS programming?
Replacing only a compatible removable core normally does not change the electronic sensor’s identity. Replacing the sensor itself may require programming, a relearn procedure, or both, depending on the vehicle and replacement sensor.
Are bicycle valves removed the same way?
Not always. Some bicycles use Schrader valves, while others use Presta valves. Not all Presta cores are removable, and a tubed bicycle tire requires a different repair approach from a tubeless car tire.
Can a missing valve cap cause a flat?
A sound valve core should retain air without the cap. However, the missing cap leaves the opening exposed to contamination. Replace the cap, and investigate any pressure loss rather than assuming the cap alone caused it.
Sources, Research Scope, and Next-Question Gaps
This guide separates established tire-care guidance from model-specific service details. Live browsing was not available, so current competing pages, search results, prices, and individual valve manuals were not inspected. No hands-on testing or competitor-ranking claims are made.
Relevant U.S. reference resources include:
- NHTSA: Tires — tire pressure, vehicle placards, maintenance, and TPMS guidance.
- U.S. Tire Manufacturers Association: Tire Care Essentials — tire-care and service resources.
For valve-core compatibility, torque, stem replacement, and TPMS service, use the exact valve or sensor manufacturer’s service instructions. General tire-care guidance does not establish those model-specific details.
The following compact gap map records useful next needs. These are inferred from the repair process, not verified search-demand findings.
| Next question | Reader stage and basis | Competitor coverage | Reader benefit and answer basis | Priority and placement |
|---|---|---|---|---|
| Do I need to remove anything to lower pressure? | Before starting; inferred from ambiguous wording | Not checked | Avoids needless removal; valve operation | High; opening and pressure steps |
| Could a rubber stem have TPMS? | Before replacement; inferred compatibility risk | Not checked | Prevents sensor damage; exact assembly instructions govern service | High; stem-replacement section |
| What if air keeps escaping after I press the pin? | During the task; inferred failure mode | Not checked | Identifies a stop condition; valve operation and leak check | High; steps and troubleshooting |
| What must I verify before driving? | After the task; inferred safety need | Not checked | Confirms correct pressure and no active leak; NHTSA tire-care guidance | High; safety section |

Conclusion
If you only need to let air out, press the Schrader valve’s center pin briefly and check the pressure with a gauge. You do not need to remove the core.
If you need to replace the core, obtain the correct core-removal tool. If the whole stem is damaged or leaking at the wheel, arrange tire service—especially when TPMS is involved. The safest no-tool solution is to avoid removing a part that does not need removal.



2 Comments
Comments are closed.