How To Patch A Bike Tire Not Tube: Easy Repair
If you need to fix the tire itself, first check whether your bike uses a tube or a tubeless setup. A tube-type tire is not airtight, so a patch on its casing usually will not stop a flat. A tubeless tire may be repairable with a compatible plug or an inside patch, but a damaged sidewall or casing often means the tire must be replaced.
For cyclists riding on U.S. roads and trails, the safest repair depends on the tire’s construction, the puncture’s location, and the tire maker’s instructions. This guide shows how to tell what you have, choose a repair, and check that it holds air.
<figcaption style=”font-size:14px;color:#555;margin-top:8px;”>
Source: Bing
Quick answer: Can you patch a bike tire instead of the tube?
Yes, in some cases—but mainly when the tire is tubeless and the damage is small and in the tread. A compatible tubeless plug can seal some tread punctures without removing the tire. An internal tire patch may work for a suitable puncture after you remove and inspect the tire.
If your tire uses an inner tube, patching the tire casing will not usually fix the flat. The tube holds the air; the tire protects it. A tire boot can cover a cut in the casing as a short-term measure, but it is not the same as a lasting tire repair.
Do not ride on a tire with a bulge, exposed threads, a split sidewall, or a cut that is getting larger. Replace it, or have a bike shop assess it before riding.
Identify your bike tire type and the damage
Check whether the tire is tubeless before choosing a repair. Look for “Tubeless,” “Tubeless Ready,” or “Tubeless Compatible” on the tire, rim, or bike maker’s setup notes. A tubeless-ready tire may still have a tube inside, so the label alone does not confirm the current setup.
You can also check the valve. A tubeless valve is usually held to the rim with a lockring, but this is only a clue. If you are unsure, let out the air and carefully remove one side of the tire to see whether a tube is inside. Avoid using a tire lever near the rim tape or tubeless valve.
Next, find the damage. Check the tread, sidewalls, and the tire’s inner surface. Remove any thorn, glass, or other object only after you know where the hole is. Keep your fingers clear of sharp debris.
| What you find | What it may mean | Best next step |
|---|---|---|
| Small hole in a tubeless tire’s tread | A plug or inside patch may work | Use a repair approved for that tire |
| Cut or hole in a tube-type tire’s tread | The tire may let the tube bulge through | Replace the tire, or use a boot only to get to safety |
| Split, bulging, or frayed sidewall | The casing may no longer hold its shape | Do not ride; replace the tire |
| Flat with no visible tire damage | The tube, valve, rim tape, or bead may be at fault | Inspect the whole wheel and setup |
The casing is the fabric and rubber body of the tire. It helps the tire hold its shape under pressure. A patch cannot restore a badly damaged casing to its original strength.

What you need to repair a tubeless tire
Use a repair made for tubeless tires, and follow its instructions. A tubeless plug kit may work for a small tread puncture. An internal patch kit may suit a puncture that needs a stronger repair from inside. Not all patches, plugs, cements, or tire materials work together.
Gather:
- A tubeless plug kit or compatible inside-patch kit
- Tire levers, if the tire must come off
- A pump or inflator suited to your tire and rim
- Soapy water to help find a leak
- Gloves or a cloth to handle sealant and sharp debris
- A tire boot only if you need a temporary fix on a tube-type tire
Do not assume a standard inner-tube patch will bond to a tire casing. Do not use household glue or a patch cement unless the repair-kit instructions say it is suitable. Some tire makers limit which repairs they allow, so check the tire instructions when available.
Before removing a tubeless tire, expect liquid sealant inside. Work over a surface you can clean, and avoid getting sealant in your eyes. If you use compressed air to seat the tire bead, stay within the pressure limits printed on the tire and rim. Use the lower limit if they differ.

How to repair a tubeless bike tire
For a small tread puncture, a tubeless plug is often the simplest roadside repair. An internal patch takes more work, but it lets you inspect the tire and place a repair from inside. The right choice depends on the damage and the tire maker’s guidance.
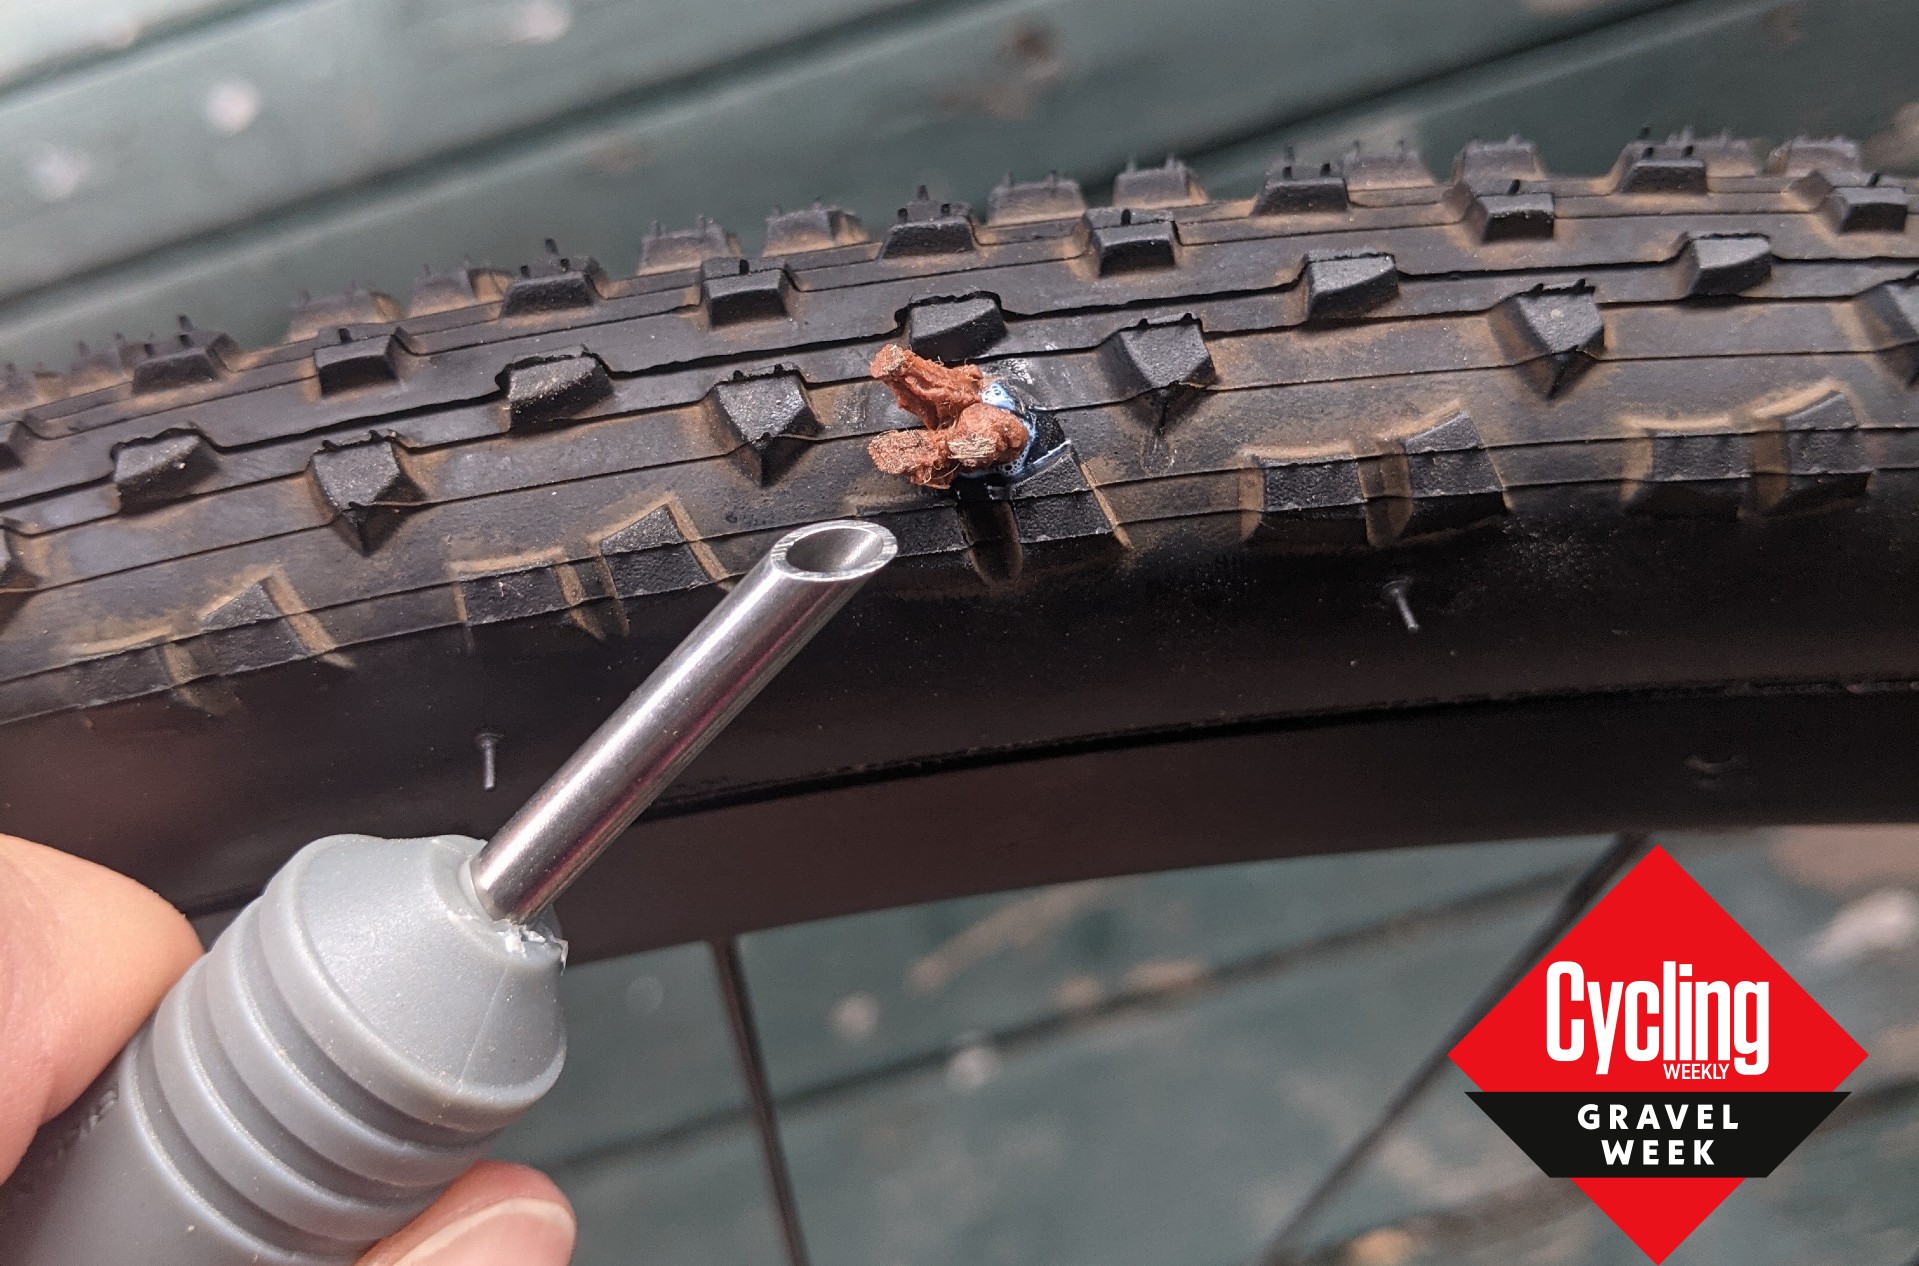
Option 1: Seal a small tread puncture with a plug
- Check the damage. Confirm that the hole is in the tread, not the sidewall. Do not plug a split, large cut, or damaged casing.
- Prepare the plug. Follow the kit instructions. Use the tool and plug size made for the hole; do not force a large tool into a small puncture.
- Insert the plug. Push it into the puncture as directed by the kit. Remove the tool without pulling the plug back out.
- Inflate the tire. Use a pump or inflator that is appropriate for the tire and rim. Do not exceed either part’s pressure limit.
- Check for leaks. Add a little soapy water around the repair. Bubbles that keep forming can mean air is still escaping.
- Recheck the tire. If the repair will not hold air, or the tire has a bulge or visible casing damage, do not ride on it.
A plug may be a temporary fix or an acceptable ongoing repair, depending on the tire and the kit. Check the tire maker’s instructions before treating it as permanent.
Option 2: Apply an inside patch
- Remove the wheel and tire. Let out the air. Remove one side of the tire and take out the sealant, if present.
- Find the puncture. Look for the hole from both sides. Remove any object that caused it, and check that no sharp piece remains.
- Inspect the casing. Do not patch a tire with a torn sidewall, bulge, exposed threads, or a cut that is too large for the kit.
- Prepare the inner surface. Clean and prepare the area exactly as the patch instructions require. Some patch systems need a dry surface or light buffing; others do not.
- Apply the patch. Use only the specified patch and bonding method. Press it down as directed and allow any required setting time.
- Refit the tire. Check the rim tape and bead as you reinstall the tire. Add fresh sealant if your setup needs it.
- Inflate and test. Stay within the tire and rim pressure limits. Check the repair and bead for leaks before riding.
If the repair fails, do not keep adding pressure or riding in the hope that it will seal. Let the air out, inspect the damage again, and choose a replacement or get help from a bike shop.

If the tire still leaks: checks in order
Start by checking the repair, then inspect the valve, rim, and tire bead. A tubeless flat can come from more than one place, and adding sealant will not fix a cut casing.
- Bubbles form at the puncture: The plug or patch may not seal the hole. Follow the kit’s steps again only if the damage is within its stated limits.
- Air leaks around the valve: Check that the valve base is seated and that the valve core is snug. Do not overtighten it.
- Air leaks at the rim edge: The tire bead may not be seated, or the rim tape may be damaged. Let the air out before adjusting the tire.
- Sealant does not stop the leak: The hole may be too large, the sealant may be low or dried out, or the casing may be damaged. Inspect the tire instead of relying on more sealant.
- The tire loses air again after a short time: Check the repair and the whole tire. A slow leak can come from a second puncture or a valve or rim issue.
Keep hands, face, and loose clothing away from a tire while seating its bead. If the bead will not seat within the pressure limits, stop and ask a bike shop for help.
Common mistakes and when to replace the tire
Do not treat a tire patch as a cure for major casing damage. A patch or plug can close a small hole, but it cannot make a torn or weakened tire safe again.
Avoid these mistakes:
- Patching a tube-type tire and expecting it to hold air. The tube, not the tire casing, holds the air in a standard setup.
- Using an inner-tube patch on the tire without checking compatibility. The materials and repair methods may differ.
- Plugging a sidewall cut. Sidewalls flex and help support the tire; a plug may not restore that structure.
- Riding with a bulge or exposed threads. These signs point to casing damage. Replace the tire before riding.
- Inflating above the tire or rim limit. Follow the lower maximum pressure shown for either part.
- Calling a roadside fix permanent without checking. Follow the tire maker’s repair guidance, and inspect the tire again before the next ride.
For a tube-type tire with a small casing cut, a tire boot can cover the opening so the tube does not bulge through. This is an emergency measure to reach a safe place, not a substitute for replacing a damaged tire. A bike shop can help assess damage when the casing or repair limits are unclear.

FAQs about patching a bike tire
Can I patch a bike tire with a regular tube patch?
Usually, no. A tube patch is made to repair an inner tube, not every kind of tire casing. Use a repair kit that states it is suitable for your tire and follow the kit instructions.
Can I ride with a plug in a tubeless bike tire?
That depends on the plug, the tire, and the tire maker’s guidance. Check that the plug holds air and that there is no casing damage. If the instructions describe the plug as temporary, replace or repair the tire as directed before relying on it for regular riding.
Can I patch a cut in the sidewall?
A small sidewall cut is not a good candidate for a routine plug repair. A boot may help a tube-type tire get you to a safe place, but a split, bulge, or exposed casing threads mean you should not ride on the tire. Replace it or have a shop assess it.
Do I need to add sealant after patching a tubeless tire?
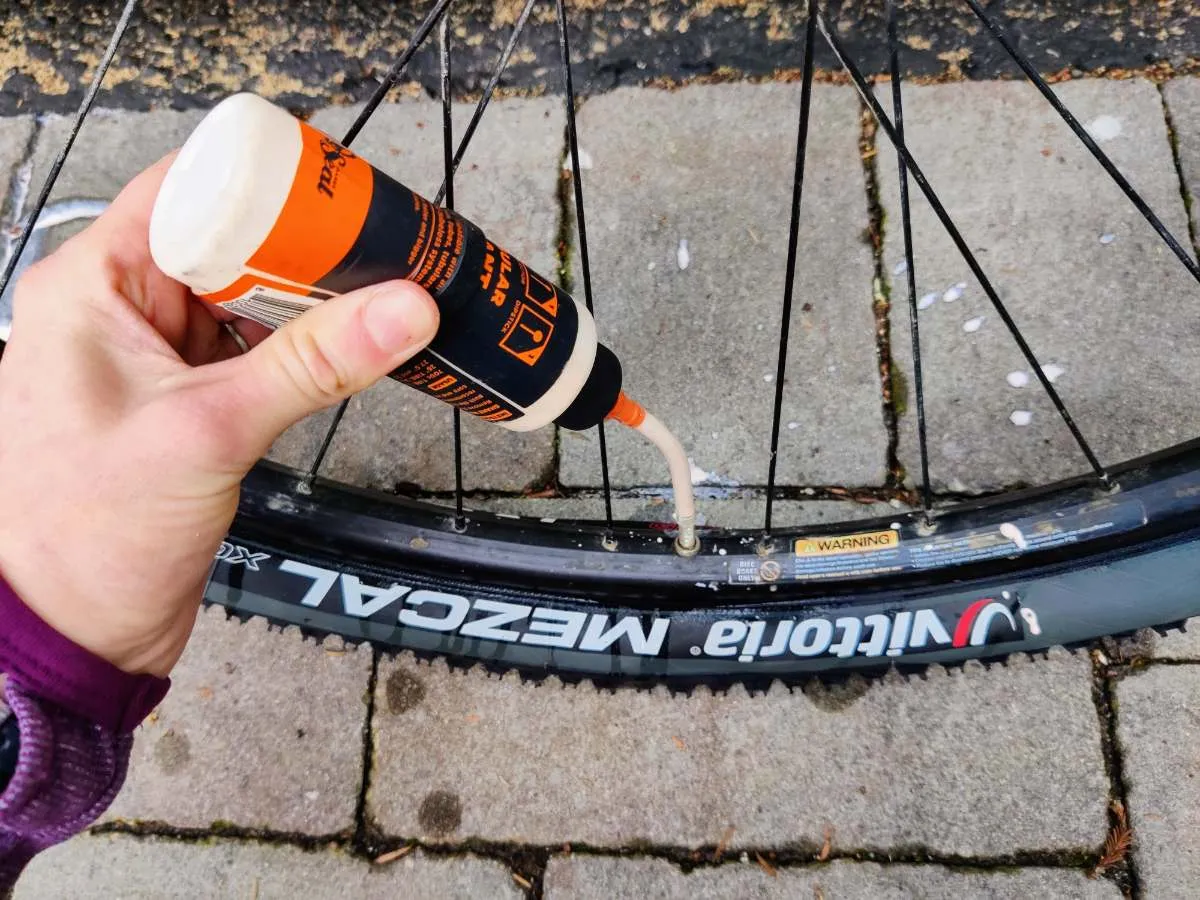
If you remove the tire, you may lose sealant or find that it has dried out. Check the sealant maker’s instructions and add sealant if needed for your setup. A patch or plug does not replace sealant where the tire system relies on it.
How do I know whether my bike has a tube?
The surest way is to inspect inside the tire. A tubeless-ready label does not prove the bike is currently set up without a tube. If you are not comfortable removing the tire, ask a bike shop to check.
Conclusion
To fix a bike tire without patching the tube, first confirm that the tire is tubeless. A small tread puncture may take a compatible plug or an inside patch. A tube-type tire usually needs its tube repaired or replaced, while a damaged casing or sidewall calls for a new tire.
Check the repair for leaks and follow the tire and rim pressure limits. If you see a bulge, split, or exposed threads—or cannot tell whether the casing is sound—do not ride until the tire has been replaced or assessed.