
Did you know that maintaining the correct tire pressure on your bicycle can improve your overall riding experience? You can achieve better control, grip, and performance on various terrains with the right air.
We will guide you through your bike tires’ recommended average PSI pressure. We’ll also provide a handy chart to help you easily determine the ideal pressure.
So, let’s dive in and ensure your tires are properly inflated for a smooth and enjoyable ride!
Table of Contents
- How Much Air In A Bicycle Tire? Recommended Average PSI Pressure
- Bicycle Tire Pressure Chart
- What Causes Pressure Inside A Bicycle Tire?
- What Is The Best Bicycle Tire Pressure Gauge?
- What If My Tire Pressure Is Too Low?
- Do Bike Tires Deflate Over Time?
- How Can I Easily Monitor My Bike Tire PSI
- Specific Bike Types And Brands Recommended Tire Pressures
- Why Do Bicycle Tires Lose Air And Keeps Going Flat? Especially In Winter
- What Is A Bicycle Tire Won’t Hold Air?
- What Is A Bicycle Tire Slow Leak?
- Does Bike Tire Pressure Affect Speed?
- Other Bike Tire Pressure FAQ’s
- Conclusion
How Much Air In A Bicycle Tire? Recommended Average PSI Pressure
The amount of air in a bicycle tire depends on the bike type and the tire size. Generally, the recommended tire pressure is printed on the tire’s sidewall and usually given in pounds per square inch (PSI) or bars.
For example, a typical road bike tire might have a recommended pressure of 80-120 PSI, while a mountain bike tire might have a recommended pressure of 30-50 PSI. A hybrid bike tire might have a recommended pressure of 50-70 PSI.
It is important to inflate your bike tires to the recommended pressure for several reasons. First, underinflated tires can make it harder to pedal and cause the bike to handle poorly. They can also increase the risk of pinch flats and other types of damage to the tire. Overinflated tires, on the other hand, can make the ride harsh and uncomfortable and can increase the risk of a blowout.
You will need a tire pressure gauge to check the tire pressure on your bike. Press the gauge onto the valve stem and read the pressure on the gauge. If the pressure is too low, use a pump to add air until it reaches the recommended level. If the pressure is too high, use the pump to release some air until it reaches the recommended level.
Bicycle Tire Pressure Chart
Here’s a basic Bicycle Tire Pressure table based on the combined weight of the bike and rider. These recommendations vary based on specific tire brands, conditions, and rider preferences. Checking the manufacturer’s recommendations and adjusting based on personal experience is always a good idea.
| Combined Weight (Bike + Rider) | Road Tires (PSI) | MTB Tires (PSI) | Commuter Tires (PSI) | Gravel Tires (PSI) |
|---|---|---|---|---|
| < 125 lbs (57 kg) | 80-90 | 20-25 | 50-60 | 40-50 |
| 125-150 lbs (57-68 kg) | 90-100 | 25-30 | 60-70 | 50-60 |
| 150-175 lbs (68-79 kg) | 100-110 | 30-35 | 70-80 | 60-70 |
| 175-200 lbs (79-91 kg) | 110-120 | 35-40 | 80-90 | 70-80 |
| 200-225 lbs (91-102 kg) | 120-130 | 40-45 | 90-100 | 80-90 |
| > 225 lbs (102 kg) | 130+ | 45+ | 100+ | 90+ |
What Causes Pressure Inside A Bicycle Tire?
The pressure inside a bicycle tire is caused by the air pumped into it. When air is pumped into the tire, it fills the inner tube, pushing against the casing. This creates pressure inside the tire, measured in pounds per square inch (PSI).
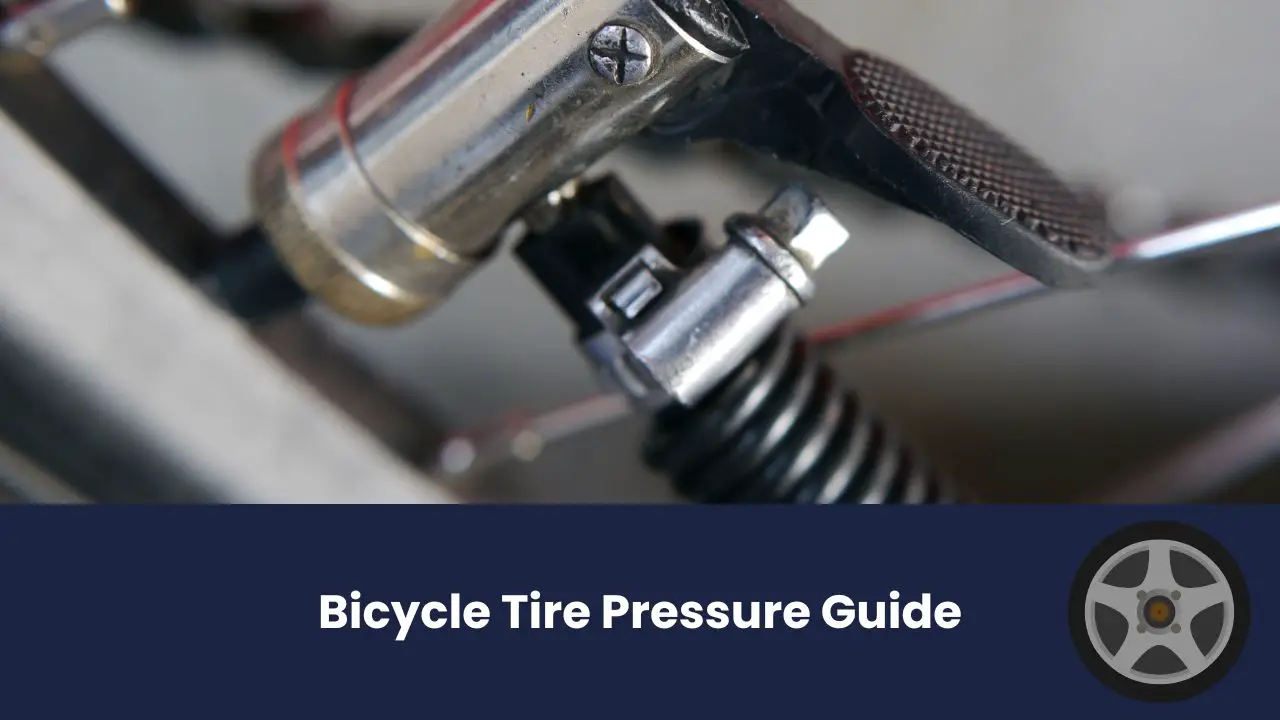
What Is The Best Bicycle Tire Pressure Gauge?
You can find the best bicycle tire pressure gauge by considering accuracy, durability, and ease of use. A reliable gauge is crucial when maintaining the optimal tire pressure for your road bike.
Here are four key features to look for in a bicycle tire pressure gauge:
- Accuracy: A gauge with precise measurements ensures that you inflate your tires to the correct pressure, enhancing performance and preventing damage.
- Durability: Look for a gauge made from high-quality materials that can withstand the rigors of regular use and potentially adverse weather conditions.
- Ease of Use: A user-friendly design makes taking accurate readings quickly and efficiently simple.
- Standard compatibility: Ensure the gauge matches standard valve types on most road bike tires.
This is the one that I recommend (Click For More Info):

What If My Tire Pressure Is Too Low?
If your tire pressure is too low, it may decrease riding stability and handling. When the tire pressure is not optimal, your road or mountain bike may feel sluggish and unresponsive. The lack of air in your MTB tire can cause it to squirm under heavy cornering or during fast descents, making it difficult to maintain control.
Low tire pressure on a gravel bike can also lead to increased rolling resistance and a higher risk of punctures. Without enough air, the tire’s sidewalls are more prone to damage from rocks or sharp objects on rough terrains.
Always check your tire pressure before heading out for a ride to avoid these issues. Refer to the manufacturer’s recommendations for the recommended PSI range specific to your bike and adjust accordingly. Properly inflating your tires will ensure better performance and a safer riding experience.
Do Bike Tires Deflate Over Time?
Yes, bike tires can deflate over time. It is normal for bike tires to lose air gradually due to the permeability of the materials used in their construction. The rate of air loss can vary depending on factors such as the quality of the tire, the type of inner tube, and the temperature and humidity conditions.
How Can I Easily Monitor My Bike Tire PSI
A digital tire pressure gauge (like the one I recommended above available here) is one way to monitor your bike tire PSI easily. This handy tool provides accurate tire pressure readings, ensuring you maintain the optimal level for a smooth and safe ride.
Here are four reasons why a digital tire pressure gauge is essential for monitoring your bike’s PSI:
- Accuracy: Digital gauges offer precise measurements, allowing you to adjust your tire pressure confidently.
- Convenience: With a digital gauge, checking your tire pressure becomes quick and effortless, saving you time and effort.
- Versatility: Whether you have tubeless wheels on your mountain bike or gravel tires on your road bike, a digital gauge works with any valve type.
- Longevity: Digital gauges are built to last and withstand the demands of regular use, making them a reliable companion for all your biking adventures.
Investing in a digital tire pressure gauge ensures you always have control over maintaining the ideal PSI for optimal performance and safety on every ride.
I love this one on Amazon (click here) – It is more advertised for motorcycles but will work fine on a bicycle too:

Specific Bike Types And Brands Recommended Tire Pressures
Mountain Bike
To ensure optimal performance on your mountain bike, check the tire pressure regularly. Maintaining the correct tire pressure is crucial for a smooth and efficient ride. Here is a tire pressure guide to help you determine the average PSI (pounds per square inch) for your mountain bike:
- Consult your owner’s manual: Different mountain bikes may have specific recommendations for tire pressure based on their design and intended use.
- Consider trail conditions: The terrain you’ll be riding on plays a role in determining tire pressure. For rougher terrains, lower pressures can provide better traction and control.
- Find the right range: Generally, mountain bikes operate within 25-35 PSI for front tires and 30-40 PSI for rear tires.
- Check the sidewall: Look at the sidewall of your tire; it often provides information about recommended minimum and maximum PSI levels.
Road Bike
Regularly check your road bike’s tire pressure to ensure optimal performance and a smoother ride. Maintaining the correct tire pressure is crucial for safety, efficiency, and overall enjoyment of your road cycling experience.
Frank Berto, a renowned bicycle expert, recommends using an average PSI (pounds per square inch) range based on the rider’s weight and tire width. To help you find the ideal air pressure for your road bike tires, refer to the table below:
| Rider Weight (lbs) | Tire Width (mm) | Average PSI Range |
|---|---|---|
| 100-120 | 23-25 | 90-100 |
| 120-140 | 25-28 | 95-105 |
| 140-160 | 28-32 | 100-110 |
| 160+ | 32+ | 105+ |
Cruiser
Cruiser bikes offer a comfortable and relaxed riding experience, perfect for leisurely rides around town. Whether cruising along the beach or exploring your neighborhood, ensuring that your cruiser bike tires are properly inflated for optimal performance is important.
Here is a bicycle tire pressure guide specifically tailored for cruisers:
- Average PSI: The recommended average tire pressure for cruiser bikes is typically 30-40 PSI (pounds per square inch). This range provides a good balance of comfort and stability.
- Air Pressure: It is crucial to regularly check your tire’s air pressure using a reliable gauge. Underinflated tires can affect handling and increase the risk of flats, while overinflated tires may result in a harsh ride.
- Tire Size: Different cruiser models may have varying tire sizes, so consult your bike’s specifications or sidewall markings for the correct size and corresponding PSI range.
- Tire Maintenance: Regularly inspect your cruiser bike tires for any signs of wear or damage, such as cuts or bulges. Additionally, keep them clean and free from debris to maintain optimal traction and performance.
Schwinn Bicycle
Now that you have learned about cruisers, let’s discuss the Schwinn Bicycle and how to inflate its tires properly. The Schwinn Bicycle is popular among riders for its quality and durability. Maintaining the correct tire pressure is crucial to ensure optimal performance.
To help you understand the recommended tire pressure, refer to the table below:
| Tire Type | Average PSI Range |
|---|---|
| Road Bike | 80-130 |
| Mountain Bike | 30-50 |
| Hybrid Bike | 40-70 |
| City Bike | 50-70 |
| Cruiser | 20-40 |
Why Do Bicycle Tires Lose Air And Keeps Going Flat? Especially In Winter
There could be several reasons why your bicycle tire keeps going flat. Here are some of the most common causes:
- Punctures: The most common reason for a flat tire is a puncture. Sharp objects like nails, glass, or thorns can puncture the tire and cause it to lose air. Inspect the tire carefully to see if you can find any punctures or holes.
- Pinched tubes: Another common cause of flat tires is pinched tubes. This happens when the tube gets caught between the tire and the rim during installation or when inflating the tire. The result is a small hole or cut in the tube that causes it to lose air.
- Worn-out tires: Over time, the tread on your tires can wear down, making them more susceptible to punctures and flats. Check the condition of your tires regularly and replace them if worn out.
- Valve problems: The valve stem can sometimes become loose or damaged, causing air to leak out. Check the valve stem for damage or looseness and tighten it if necessary.
- Rim damage: If the rim is damaged or bent, it can cause the tire to lose air. Check the rim carefully for any signs of damage or warping.
Are There Any Bicycle Tires That Don’t Lose Air?
Consider getting tubeless ones if you want bicycle tires that don’t lose air. These innovative tires have gained popularity among cyclists for their numerous benefits.
Here are four reasons why tubeless bicycle tires may be the solution to your air loss woes:
- No tubes: Tubeless tires eliminate the need for inner tubes, often prone to punctures and leaks. Without tubes, air cannot escape through small holes or cracks.
- Sealant protection: Tubeless tires are typically filled with a liquid sealant that helps seal punctures on the go. This added layer of protection minimizes air loss due to small cuts or thorns.
- Lower tire pressure: Tubeless tires allow you to run lower tire pressures without sacrificing performance or risking pinch flats. Adjusting the average psi according to your weight and riding conditions allows you to find the perfect balance between comfort and grip.
- Improved bead lock: The bead on tubeless tires attaches firmly to the rim, preventing potential air leakage at this crucial interface point.
You can enjoy a worry-free ride with tubeless bicycle tires without constantly checking tire pressure or dealing with unexpected air loss issues.
What Is A Bicycle Tire Won’t Hold Air?
If you’re dealing with a bicycle tire that won’t hold air, diagnosing the issue before attempting any repairs is important.
The most common causes for this problem are punctures, damaged valves, or worn-out inner tubes.
Fortunately, fixing a bicycle tire that won’t hold air is a relatively simple process that can be done at home with a few basic tools and patience.
How To Fix A Bicycle Tire That Won’t Hold Air
There’s a simple way to fix a bicycle tire that won’t hold air. Follow these steps:
- Inspect the tire: Look for punctures or debris lodged in the tread. Remove any foreign objects and ensure there are no visible holes.
- Patch or replace tube: If you find a puncture, patch it using a tire repair kit or replace the inner tube entirely if necessary.
- Check valve integrity: Ensure the valve is securely attached to the inner tube and not leaking air. Tighten or replace if needed.
- Inflate properly: Use a bicycle tire pressure guide to determine the average PSI for your specific bike tires, and inflate accordingly using a pump with an accurate pressure gauge.
What Is A Bicycle Tire Slow Leak?
If you’re experiencing a slow leak around the rim of your bicycle tire, there are a few steps you can take to fix it.
- First, inspect the rim for any damage and replace it if necessary.
- Next, ensure the tire is properly seated on the rim by deflating it completely and then reinflating it cautiously.
- Lastly, check for any debris or foreign objects lodged in the tire that may be causing the leak.
Several solutions are available for a slow leak around your bicycle tire’s valve stem.
- Start by checking if the valve stem is properly tightened onto the tube.
- If not, use a valve core remover tool to remove and re-tighten the valve core.
- Additionally, inspect the valve stem for any cracks or damage and replace it if needed.
- Finally, consider using some sealant specifically designed for tubeless tires to help prevent future leaks around the valve stem area.
Remember that addressing slow leaks promptly is crucial to maintaining optimal performance and safety while riding your bicycle.
How To Fix A Slow Leak Around The Rim
Remove the tire from the bicycle to fix a slow leak around the rim. Inspect the rim carefully to identify any sharp objects or debris causing the leak. Once you have located the source of the problem, follow these steps to fix it:
- Clean the rim surface: Use a rag or brush to remove any dirt or grime from the area around the leak. This will ensure a clean surface for proper adhesion.
- Apply patch glue: Using a small brush, apply a thin layer of patch glue onto the damaged area of the rim. Make sure to cover an area slightly larger than the size of your patch.
- Install rubber patch: Place a rubber patch over the glued area and press down firmly, ensuring good contact between the patch and rim.
- Inflate and test: Reinstall your tire on the bicycle and inflate it to your desired pressure according to a bicycle tire pressure guide (usually between 40-80 psi). Check for any signs of leakage and make adjustments as needed.
How To Fix A Slow Leak Around The Valve Stem
Inspect the valve stem carefully to identify any cracks or damage causing the slow leak. Start by removing the valve cap and ensuring your bike is on a stable surface. Look closely at the stem, paying attention to any signs of wear, such as cracks or tears. If you notice any damage, replacing the valve stem immediately is important.
Does Bike Tire Pressure Affect Speed?
Yes, bike tire pressure can affect speed.
When the tire pressure is too low, the tire will compress more under the rider’s weight, creating more rolling resistance and making it harder to pedal. This can slow down the bike and make it more difficult to maintain speed.
On the other hand, when the tire pressure is too high, the tire will be less able to absorb shocks and vibrations from the road, making the ride less comfortable and increasing the risk of a blowout.
Other Bike Tire Pressure FAQ’s
To ensure optimal performance and safety while cycling, it’s essential to calculate the proper bike tire pressure. This can be determined based on factors such as your weight, tire size, and riding conditions.
Getting air in your bicycle tires is a straightforward process that requires a few essential tools. These tools include a bicycle pump with a pressure gauge and an adapter for your valve type.
How Do You Calculate The Proper Bike Tire Pressure?
Calculating the proper bike tire pressure is essential for a safe and comfortable ride. To ensure optimal performance, here are four key factors to consider:
- Weight: Your weight is crucial in determining the ideal tire pressure. Heavier riders require higher pressures to prevent pinch flats, while lighter riders may benefit from slightly lower pressures for improved traction and comfort.
- Tire Size: The size of your tire, measured in inches, affects its recommended pressure range. Smaller tires typically require higher pressures, while larger tires can be inflated at lower levels.
- C: The width of your tire, denoted by the letter ‘C,’ also influences the recommended pressure range. Wider tires generally allow for lower pressures, which offer better-rolling resistance and shock absorption on rough terrain.
Or, you can take the easy route and try our bike tire pressure calculator.
How Do I Get Air In My Bicycle Tires?
Now that you know how to calculate the proper bike tire pressure, let’s talk about how to get air in your bicycle tires. It may seem simple, but a few key steps exist for a successful inflation process.
Check out our full instructions on how to pump air into your bicycle’s tires here.
Once you reach the desired tire pressure according to your calculations from earlier, carefully remove the pump head from the valve stem while avoiding sudden air release.
What Tools Do I Need To Pump Air Into My Bike Tires?
You’ll need a pump with the correct head attachment for your valve type to inflate your bike tires.
Here are two essential tools you should have to pump air into your bike tires:
- A good quality bicycle air pump.
- A good quality tire pressure gauge.
These readily available tools will make it easy and convenient for you to keep your bike tires properly inflated and ready for any adventure.
Conclusion
To conclude, maintaining the correct tire pressure in your bicycle is crucial for optimal performance and safety. By referring to a bicycle tire pressure chart and using a reliable pressure gauge, you can ensure that your tires are inflated to the recommended average PSI.
Neglecting proper tire pressure can lead to low traction, increased rolling resistance, and potential damage to the rims. For instance, imagine a cyclist who neglects their tire pressure and experiences a blowout during a steep descent – this could result in serious injury or even worse.
Therefore, regular monitoring of bike tire PSI is essential for an enjoyable and safe ride.
