
How Much Is Bicycle Tire Tubes: Cost & Buying Guide

Wondering how much is bicycle tire tubes? Compare prices, valve types, and replacement costs to find the right fit and avoid overspending.
In the United States, a standard bicycle inner tube usually costs about $6–$15 per wheel. If a bike shop supplies and installs it, plan on roughly $20–$45 total per wheel for a basic repair. Lightweight tubes, special sizes, and hard-to-remove wheels can cost more.
These are US budgeting estimates in dollars, not live-verified prices. Sales tax, shipping, local labor rates, and the work your bike needs can change the bill. For most riders, the key is to buy a tube that fits—not the most costly one.
Bicycle Inner Tube Prices by Type
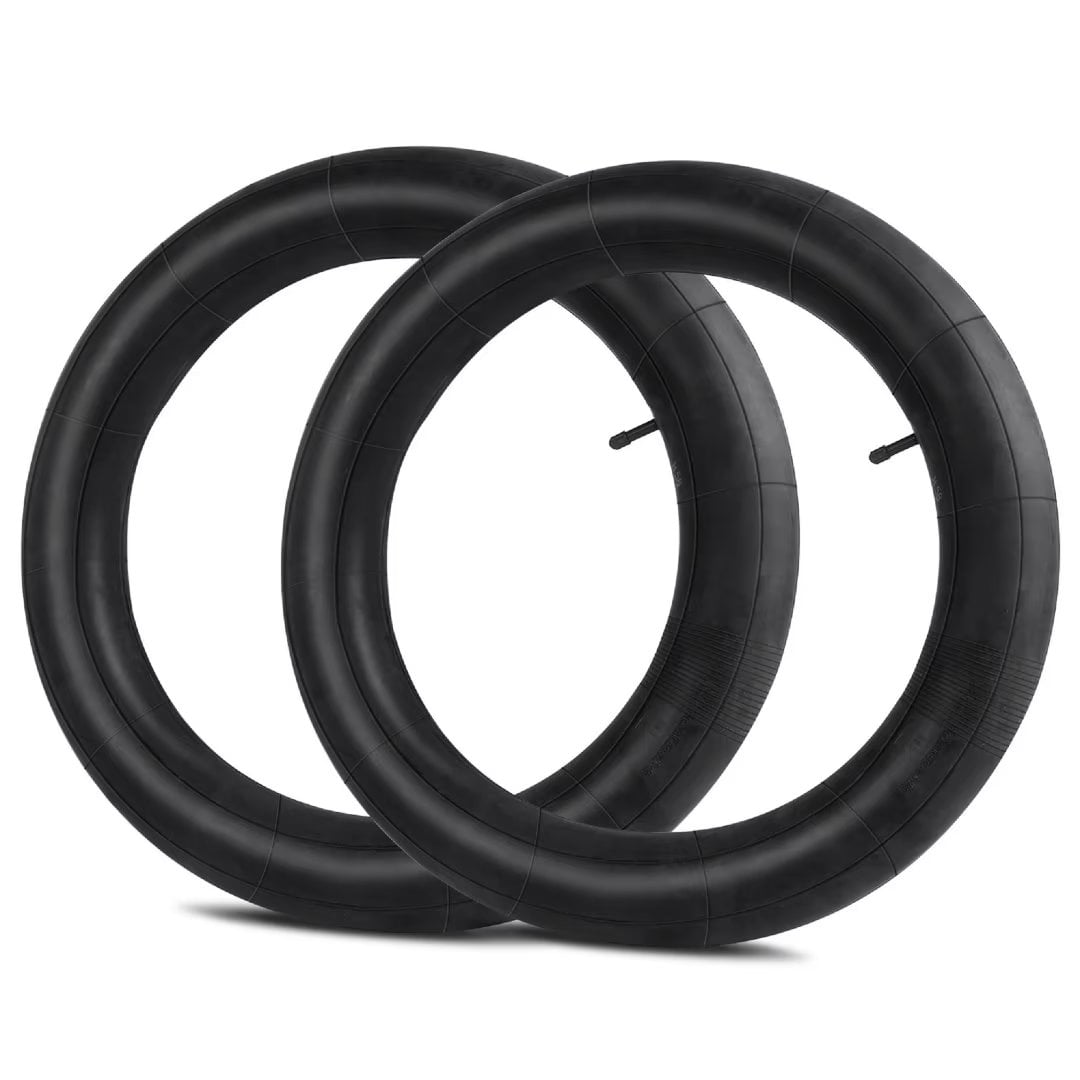
A standard butyl rubber tube is usually the lowest-cost choice for routine riding. Other types serve specific needs, such as lower weight or added puncture resistance.
Use these ranges to plan a purchase, not as current quotes from a store.
| Tube type | Estimated US price per tube | Main use or trade-off |
|---|---|---|
| Standard butyl rubber | $6–$15 | A practical choice for most everyday bikes |
| Thick or thorn-resistant butyl | $10–$25 | More material to resist some punctures, but more weight |
| Sealant-filled tube | $10–$25 | May seal some small holes; cannot fix every flat |
| Latex | $15–$30 | A performance option that needs more frequent air checks |
| TPU | $15–$40 or more | Often light and compact; installation and patch rules vary |
| Unusual size or special design | $12–$35 or more | Price depends on size, valve, and availability |
Butyl, latex, and TPU are tube materials. TPU stands for thermoplastic polyurethane, a type of plastic. A high price does not prove that a tube will last longer or suit your bike better.
For a commuter, child’s bike, or casual-use bike, a well-fitted standard butyl tube is often enough. Spend more only when the tube’s features solve a clear need.

How Much Does a Bike Shop Charge to Replace a Tube?
A basic shop repair often falls around $20–$45 per wheel, including a standard tube and installation. Ask for the full price before you approve the work, since a listed labor charge may not include the part.
A shop may split the bill into these items:
| Charge | Estimated US cost | What to check |
|---|---|---|
| Standard inner tube | $6–$15 | Whether the quote includes the right size and valve |
| Basic installation labor | $10–$30 | Whether wheel removal and installation are included |
| Added work | Varies | Tire damage, rim tape, difficult access, or other faults |
| Tax | Varies | Depends on local rules and which charges are taxable |
Why some repairs cost more
A rear wheel with a hub motor, enclosed chain guard, or some internal-gear hubs can take more work to remove. Shops may charge more for these jobs. Cargo bikes and other complex setups may also need a separate quote.
A new tube will not fix a torn tire, sharp rim edge, or damaged rim tape. If one of those caused the flat, the shop may need to replace or repair it as well.
A useful question to ask: “What is the total price for the tube and labor, and will you call before doing extra work?”

What Are You Paying For: a Tube or a Tire?
The inner tube holds the air; the tire is the outer part that touches the road. They are separate parts, and a flat does not always mean both need to be replaced.
The tire gives the wheel grip and helps protect the tube. The rim tape covers spoke holes or other sharp areas inside the rim. Damage to either can cause a new tube to fail.
Most bikes with tubes use one in each tire. A tubeless setup holds air without a normal inner tube, though a compatible tube may sometimes serve as a roadside backup.
Before you shop, confirm which part you need. A quote for a new tire and tube will be higher than a quote for a tube alone.

How to Buy the Right Bicycle Tube
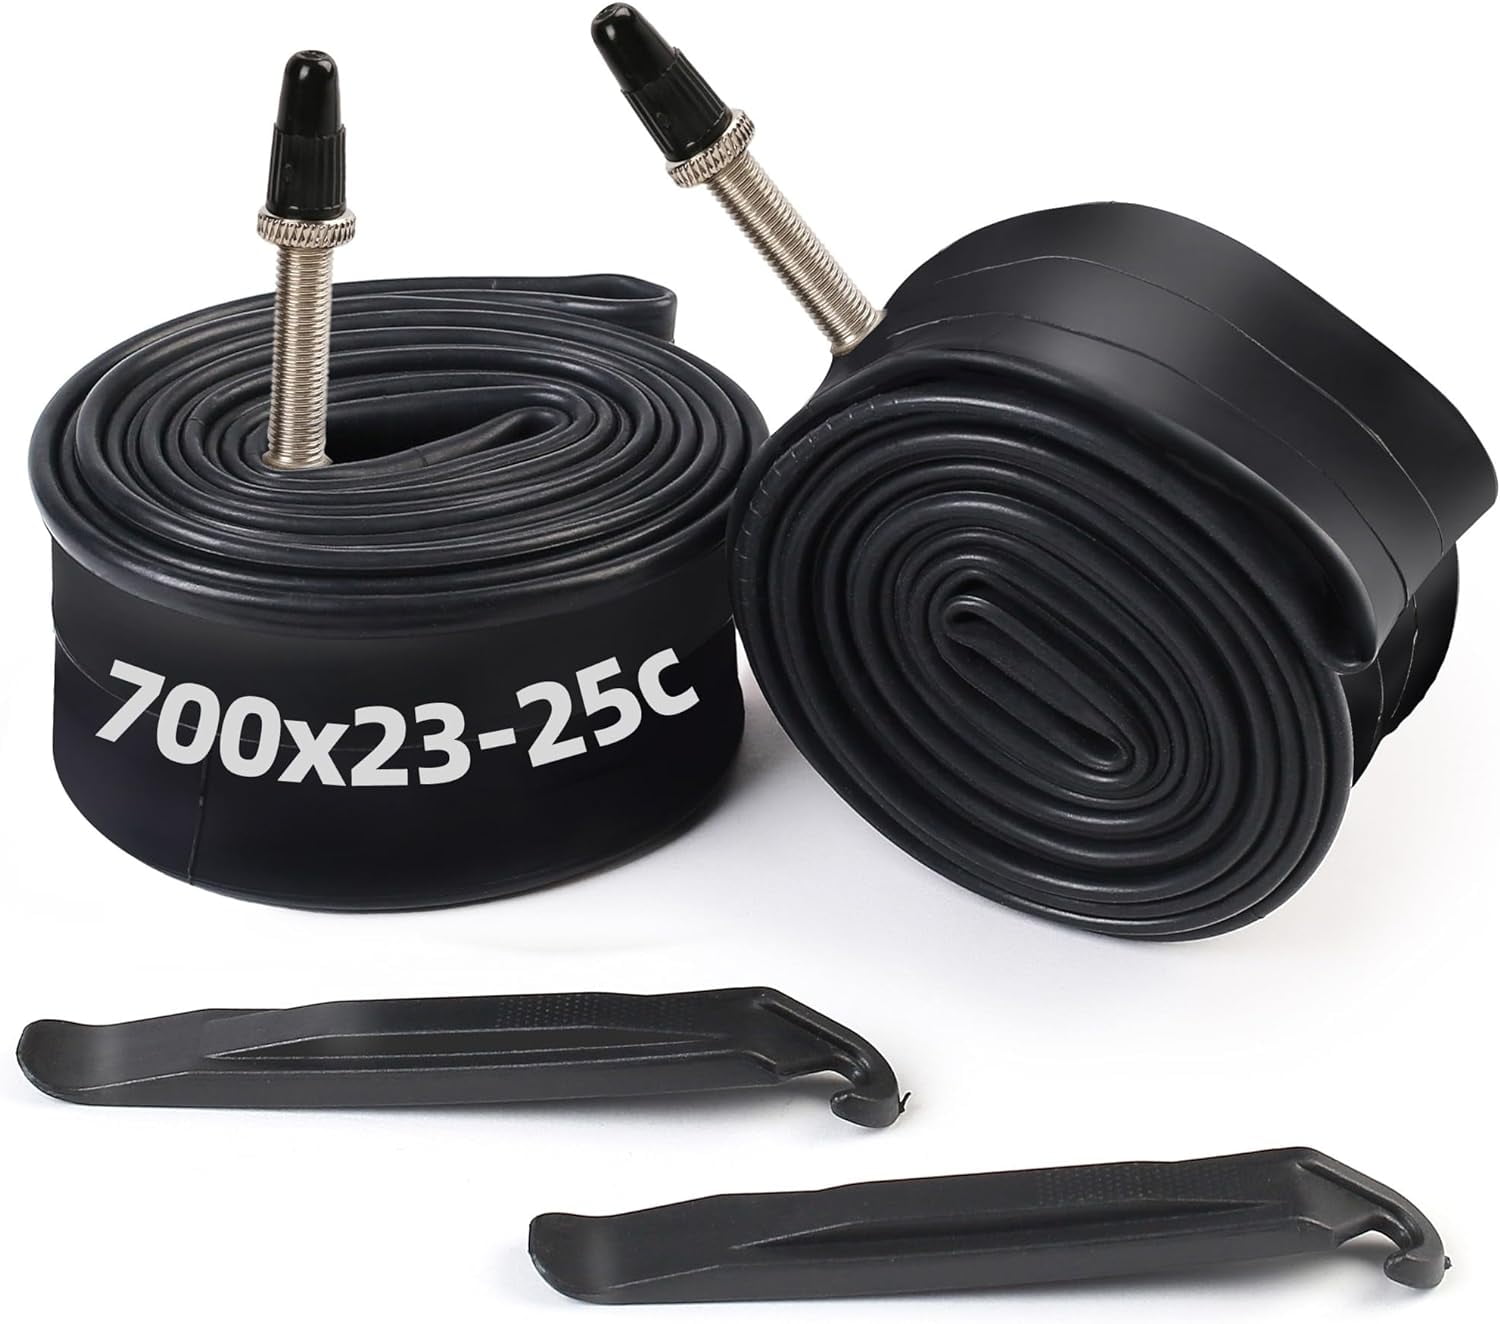
Match the tire size, valve type, and valve length before you compare prices. A cheap tube that does not fit is not a good deal.
1. Read the size on the tire
Look at the tire’s sidewall. Common labels include:
- 700 × 28c on a road bike.
- 26 × 1.95 on some mountain and city bikes.
- 29 × 2.25 on a mountain bike.
- 20 × 1.75 on some children’s and folding bikes.
You may also see an ISO size such as 28-622. The first number is the tire’s nominal width in millimeters. The second is its bead-seat diameter—the diameter where the tire fits the rim.
Use the tube maker’s fit range. For example, a tube marked 700 × 28–35c is intended for that stated width range, not every tire called “700c.”
Do not assume that all tires labeled “26 inch” share the same rim diameter. If the labels are unclear, take the old tube or a clear photo of the tire markings to a shop.
2. Match the valve
The two most common US options are:
- Schrader: A wider valve like the one on a car tire.
- Presta: A slimmer valve with a small tip that unscrews before inflation.
Choose the valve type your rim is designed to use. Do not drill a valve hole to make a tube fit.
3. Check valve length
The valve must extend far enough past the rim for the pump head to grip it. Deep rims often need a longer valve than shallow rims.
If the old valve worked well, its length is a useful starting point. When in doubt, ask the shop to check the rim depth.
Is It Cheaper to Patch a Tube or Replace It?
Patching can cost less when a compatible tube has a small, repairable hole. Replacement makes more sense when the valve, seam, or a large area is damaged.
A basic patch kit may cost roughly $4–$10 and can include supplies for several repairs. That makes the cost per repair low, though the kit is an upfront purchase.
| Tube condition | Practical next step |
|---|---|
| Small hole in otherwise sound butyl rubber | Consider a proper patch |
| Two small “snakebite” holes from a rim strike | Inspect the tube and tire; patching may be possible |
| Tear near the valve base | Replace the tube |
| Long split or damaged seam | Replace the tube |
| Brittle rubber or several weak areas | Replace the tube |
| TPU or latex tube | Follow that tube maker’s repair rules |
A standard butyl patch kit is not a universal repair kit. TPU and latex tubes may need specific patches or methods.
Before you patch or replace a tube, find the cause of the flat. A tiny piece of glass left in the tire can puncture the next tube at once. Check with care; do not slide a bare finger across a surface that may hold sharp debris.

DIY Replacement Cost and Basic Steps
A do-it-yourself repair may cost only the price of a tube if you already own a pump and tire levers. A first repair costs more if you need tools.
As a rough US budget, tire levers may cost $4–$10, and a basic pump may cost $15–$40. A pump you already own is useful only if it fits the valve and can reach the tire’s required pressure.
A simple cost example
This is a hypothetical calculation, not a store quote:
- Replacement tube: $10
- Tire levers: $6
- Pump: $25
- First-repair total: $41 before tax
If the same tools work for the next repair, that repair may cost only another tube or patch.
Basic replacement sequence
If you know how to remove and secure your wheel, the basic process is:
- Remove the wheel using the bike maker’s instructions.
- Release all air, then lift one tire bead off the rim.
- Remove the tube and inspect the tire and rim tape.
- Add just enough air to give the new tube its shape.
- Fit the valve and tuck the tube into the tire without twists.
- Refit the bead without trapping the tube.
- Inflate slowly and check that the tire sits evenly.
- Reinstall the wheel, secure it correctly, and check the brakes.
Use the pressure range suitable for the tire, rim, load, and riding conditions. Do not exceed the applicable limits of either the tire or rim.
Signs of success: The tire sits evenly, holds air, and turns without rubbing. The wheel is secure, and the brakes work as they should.
If the tire bulges, the bead starts to lift, or the tube loses air at once, stop and deflate it. Recheck the fit rather than adding more air. Get shop help if wheel removal, axle hardware, or brake setup is unclear—especially on an e-bike.

How to Avoid Paying for the Same Flat Twice
Fix the cause of the flat, not just the loss of air. A second tube can fail just as fast if the source of damage stays in place.
Common mistakes include:
- Leaving debris in the tire. Check for glass, thorns, wire, and sharp cuts.
- Ignoring damaged rim tape. Exposed spoke holes can puncture a tube from below.
- Pinching the tube during installation. Use care with tire levers and check the bead before full inflation.
- Buying the wrong size. Read the fit range instead of guessing from wheel size alone.
- Using unsuitable pressure. Too little pressure can allow rim strikes; too much can exceed component limits.
- Replacing a tube inside an unsafe tire. A bulge, damaged bead, exposed casing, or major sidewall cut needs assessment before riding.
A thick tube or sealant is not a cure for every flat. Neither makes a damaged tire safe.

Research Limits and Useful Next Questions
The prices in this guide are estimates, not a live US retail survey. No current listings, competitor pages, or local shop quotes were inspected, so the guide does not claim a verified lowest price or a nationwide average.
For repair and fit guidance, consult Park Tool’s tire and tube removal and installation guide, REI’s flat-tire repair guide, and the instructions supplied with your tube, tire, rim, and bike. These are technical reference resources, not verification of the price ranges above.
The next-question map below shows how the guide addresses likely needs. These questions are inferred from the repair task; they are not claimed as observed search demand.
| Next question | Reader stage and basis | Competitor coverage | Reader benefit and answer basis | Priority and placement |
|---|---|---|---|---|
| What will the whole repair cost? | Before purchase; inferred from budgeting needs | Not checked | Separates parts, labor, and tools using labeled estimates | High; cost sections |
| Will this tube fit? | Before purchase; inferred from size and valve choices | Not checked | Prevents a wrong purchase through tire markings and maker fit ranges | High; fit section |
| Why did the new tube go flat? | After repair; inferred from repeat-failure risk | Not checked | Directs checks toward debris, rim tape, and installation | High; repair sections |

FAQs
Do I need to replace both bicycle tubes at once?
No. You can replace only the failed tube if the other tire holds air and has no known problem. Unlike some paired bike parts, inner tubes do not normally need to be replaced as a set.
How long should a bicycle inner tube last?
There is no fixed replacement interval that fits all tubes and riding conditions. A tube can remain useful until it is punctured, damaged, or degraded. Check its condition during repairs rather than replacing it based on age alone.
Does a slow leak mean I need a new tube?
Not always. A small puncture, valve fault, or normal air loss may explain it. If pressure drops faster than usual, inspect the tube and valve; follow the maker’s instructions for any serviceable valve parts.
Can I use a tube in a tubeless tire?
Often, but only when the tire, rim, and tube are compatible. A tubeless rim valve must generally be removed first. A tube cannot make a badly damaged tire safe to ride.
Do online multipacks save money?
They can lower the price per tube. Compare the delivered cost per tube, then confirm size, valve type, valve length, and return terms. A low unit price has little value if the tubes do not fit.
Conclusion
For most US riders, $6–$15 is a useful budget for a standard bicycle tube, while $20–$45 per wheel is a reasonable starting estimate for a basic shop replacement.
Read the tire size, match the valve, and check the cause of the flat before buying. If a shop will do the work, ask for a parts-and-labor quote so the final bill is clear.